
Slotbound Hard Mode: What Changes and How to Clear It
How Slotbound Hard mode differs from Normal, which builds survive the ramp, and the preparation habits behind the sub-10-percent battlefield clear achievements.
Hard mode raises the cost of every greedy decision: fewer wasted lives, less room for a thin army, and no tolerance for a carry without a front line. Clear the stage on Normal first, then treat Hard as a build check rather than a skill check.
Slotbound launched with adjustable difficulty, and the achievement list makes the Hard tier unusually legible: Master of the Open Forest at 41.4 percent, Master of the Deep Cave at 21.7 percent, Master of the Wasteland at 9.3 percent, then the later three battlefields drop below the published threshold. That curve is the clearest available map of Hard mode.
What actually changes
The store page lists adjustable difficulty without publishing the modifiers. What the achievements reveal is the consequence:
- Flawless asks for a Normal or Hard clear with no lost life, and 67.6 percent of players have it, so Normal is forgiving enough that most clears are clean.
- Close Call asks you to win with one life left, and 28.9 percent have it, which means losing lives is common even for players who eventually win.
- Master achievements are per battlefield, so Hard is a stage-by-stage ladder rather than a single toggle you beat once.
The practical translation: Hard mode compresses your margin. On Normal a mistake costs a heart you can afford; on Hard the same mistake costs the run.
The build differences
Hard rewards concentration and reach, and it punishes two specific things.
| Build trait | Normal | Hard |
|---|---|---|
| One carry, no front line | Often works | Dies to two-side spawns |
| Wide one-star army | Usually works | Runs out of damage |
| Mixed families | Fine | Missing synergy compounds |
| Single clump placement | Fine | Split battlefields punish it |
| Late economy investment | Fine | Too slow to scale |
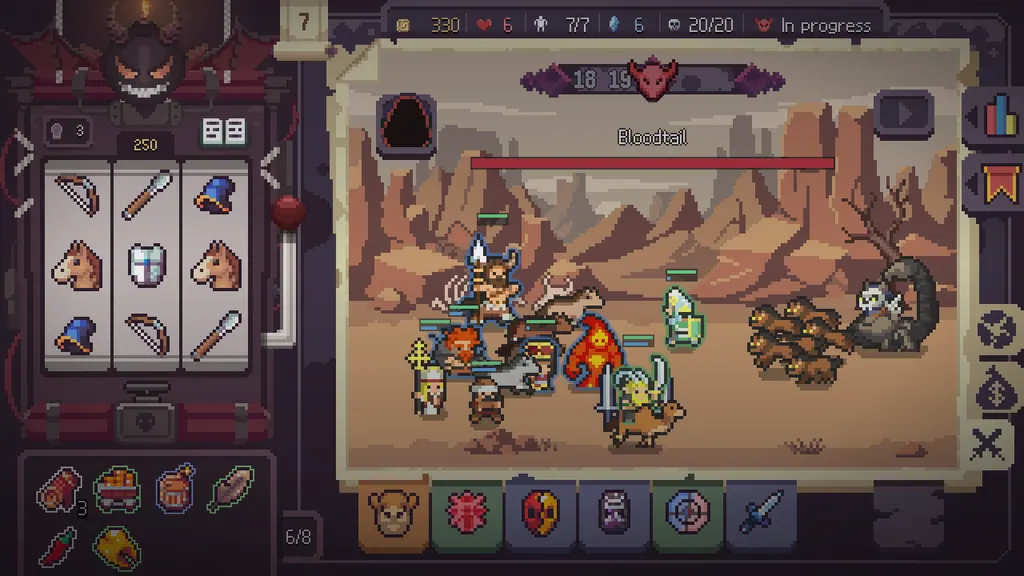
The cleanest Hard build is a three-star ranged carry, two bodies in front of it, one defensive core, and a faction or role synergy that the carry benefits from. It is not exotic. It is the same build that clears Normal, with the greed removed.
Preparation habits that separate clears
Lock and protect the carry
On Hard, the carry dying is the run dying. Use the manual lock to stop yourself from absorbing it by accident, and keep it behind bodies at all times.
Take the defensive core early
On Normal a defensive core is optional. On Hard it is the difference between a judgment wave that costs a unit and one that costs two lives. If the first core offer is defensive, take it.
Stop buying economy after the midpoint
Economy compounds, so it belongs early. On Hard the midpoint arrives sooner than you think, because the waves that punish greed start earlier. After the midpoint, every purchase should affect the next two waves.
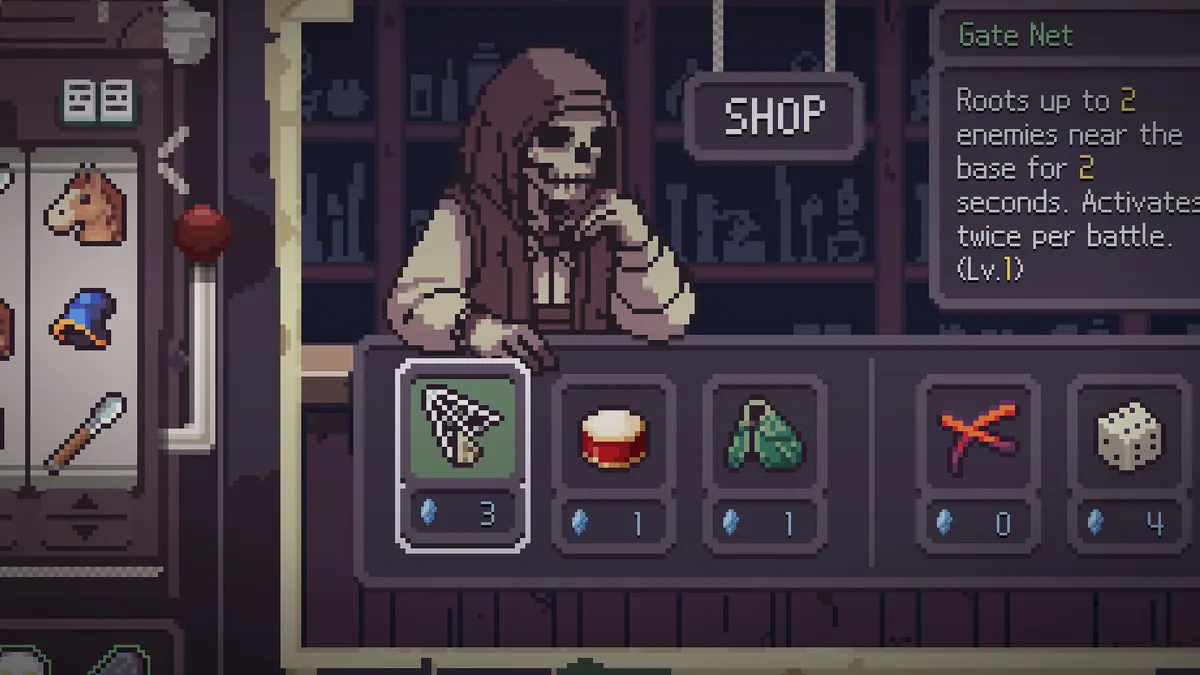
Spend items on spikes, not on comfort
A healing item used on a wave you were going to win anyway is a wasted item on Hard. Hold it for the judgment wave, use it there, and treat the item row as a reserve for the encounter that ends runs.
The achievement ladder
| Achievement | Requirement | Rate |
|---|---|---|
| Flawless | Normal or Hard clear, no life lost | 67.6% |
| Beyond Judgment | Every judgment wave won without losing a unit | 46.5% |
| Master of the Open Forest | Open Forest on Hard | 41.4% |
| Master of the Deep Cave | Deep Cave on Hard | 21.7% |
| Master of the Wasteland | Wasteland on Hard | 9.3% |
| Pure Blood | Final boss on Hard with single-family units | 4.8% |
The ladder is ordered by difficulty in practice, not just by stage. Open Forest on Hard is a build check you can pass while learning; Pure Blood is a run-long commitment to one family that only pays off if the family's units cover every role.
Should you push Hard or push stages?
Push Hard on a stage you have already cleared on Normal. The reason is information: you already know the wave order, the boss timing and the spawn directions, so the only new variable is the margin. Pushing a new stage on Hard adds two unknowns at once and usually produces a loss you cannot diagnose.
Once you can clear a stage on Hard reliably, move to the next stage on Normal. Alternating this way keeps you learning without grinding.
When Hard mode is not the answer
If you are losing on Normal, Hard is not a skill problem to solve later, it is a build problem to solve now. The most common causes are a carry that cannot reach, an army that is wide but not deep, and a core set with conflicting effects. The core guide→ and the absorb guide→ cover those.
The second common cause is wave preparation. If you are entering judgment waves below unit cap, the judgment wave guide→ is more useful than any tier list.
Sources
Official source: Slotbound on Steam ↗
- Steam store page ↗ for adjustable difficulty and the campaign structure.
- Steam achievement stats ↗ for the Hard clear rates quoted above.
- Steam news hub ↗ for the launch hotfix difficulty reduction and stage tuning.
FAQ
Does Hard mode change enemy stats or just numbers?
The game lists adjustable difficulty without publishing the modifiers. In practice Hard compresses your margin: the same mistakes cost more, and greedy builds fail earlier.
Can I change difficulty mid-campaign?
Difficulty is a setting per run, and achievements are tied to the difficulty you clear on. Start the run on the difficulty you intend to finish.
Is Hard required for any achievements?
Yes. The six Master achievements, Pure Blood and the Hard half of Flawless all require Hard clears.
What is the easiest Hard clear?
Open Forest. It has the highest clear rate at 41.4 percent and the simplest spawn pattern, which makes it the right place to learn the Hard build discipline.