
Slotbound Beginner Guide: Your First Campaign Clear
How to clear your first Slotbound campaign: reading the slot board, the first absorb order, which cores to take and how to survive wave 8.
Start on Open Forest, take every free spin, and absorb your first duplicate into the unit that is already fighting rather than spreading stars around. Buy upgrades between waves instead of hoarding gold, keep two bodies in front of your carry, and treat wave 8 and the first judgment wave as the real difficulty gate.
Slotbound explains its fantasy in one sentence and then hands you a slot machine. Nothing in the first ten minutes tells you that the board is a resource, that absorption is the only real progression, or that eight core slots are the difference between a run that snowballs and one that stalls at wave 8. This guide is the first hour, in order.
Step 1: pick Open Forest and read the interface once
Open Forest is the opening battlefield and the one the two launch-week hotfixes tuned to be easier. Before you touch the lever, find these five counters along the top bar:
| Counter | Icon | What it means |
|---|---|---|
| Gold | Coin | Currency for upgrades and bought spins |
| Lives | Heart | Six at the start; a breach costs one |
| Army | Unit silhouette | Units on the field over your current cap, for example 6/7 |
| Diamonds | Blue gem | A second resource used by the run economy |
| Enemies | Skull | Enemies remaining in the current wave |
The wave tracker above the battlefield shows the next block of waves with the current one highlighted, and the right edge of the top bar warns you with lines like "in 1 wave" or "in 4 waves". Both are worth checking before you spend gold, because a boss wave announcement changes what you should buy.
Step 2: spend the first spins on bodies, not on stars
Your first three spins exist to put units on the field. Do not absorb anything in the opening waves. A single two-star unit cannot hold a lane, and the early waves are designed to be cleared by numbers.
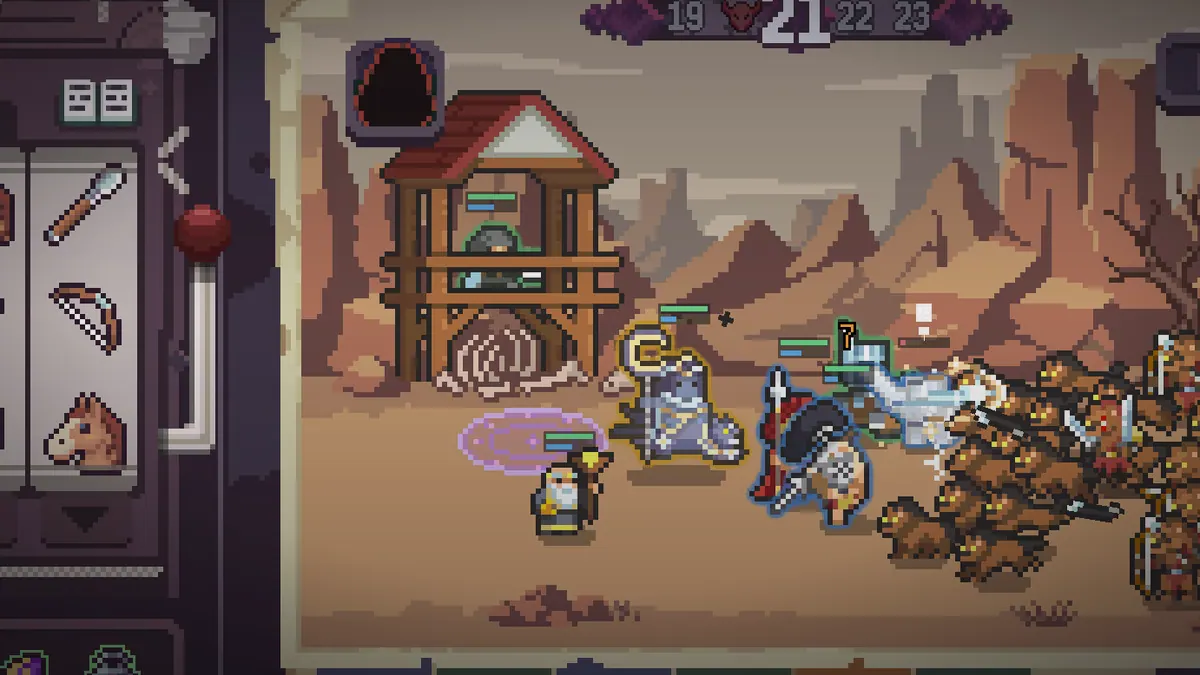
The board is 3x3 and lines summon. In the screenshots the symbols are class icons: bows, staffs, shields, mage hats and horse heads. Read the board before you pull and ask one question: which column gives me a line if one symbol lands? That question is the entire skill ceiling of the spin system, and the symbol guide→ covers it symbol by symbol.
Step 3: absorb in one direction
Once you have four or five units, pick a carrier and feed everything that is not holding a lane into it. A carrier is usually the unit with the best rolled stats from your opening summons, not the most expensive one.
The absorb rules that matter:
- Absorb mode is a separate input, bound to A on keyboard by default. Turn it on, click the unit you want to feed, then click the unit that eats it.
- Manual lock exists so a unit you want to protect is never offered as material. Lock your carry before you start cleaning up.
- Feeding raises stars. Three stars is the first real power spike, and the Three Stars achievement at 78 percent global unlock tells you most players get there without trying.
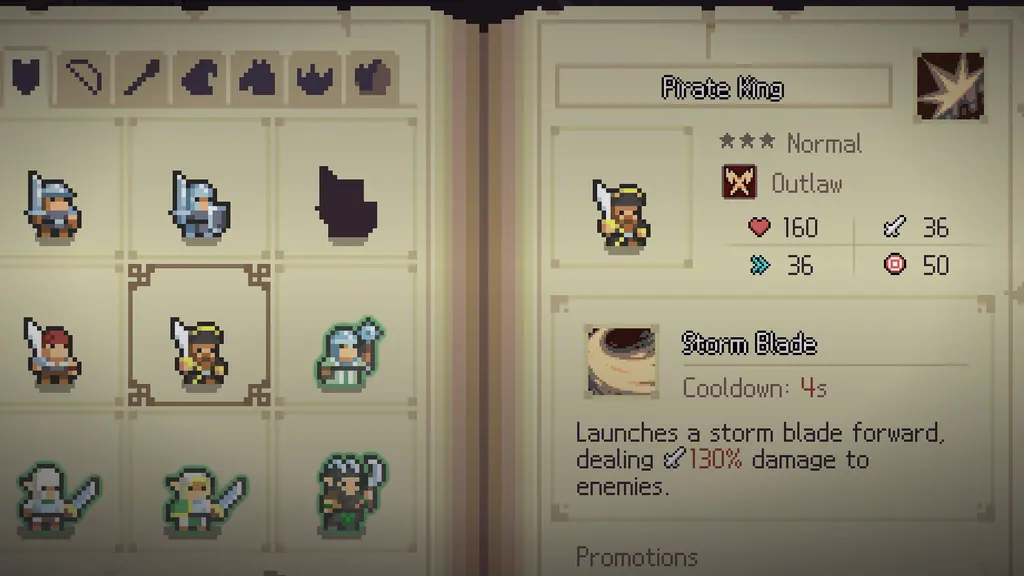
- Class promotion happens on the way up and offers a branch. Read both options before you click; the launch hotfixes specifically fixed a card that displayed the stat arrows wrong.
The order to absorb in, and the factions to keep pure if you want the harder achievements, is in the absorb guide→.
Step 4: fill core slots early and carefully
Cores change the rules of the machine, and you have eight slots. Early cores are worth more than late ones because every wave after you take one is played under its effect.
What to look for in your first run:
- Anything that adds spins or lowers spin cost. More spins means more bodies, and more bodies means more absorb material.
- Anything that improves summon quality. A core that raises the odds of a line is effectively free army.
- One defensive core. You will leak a wave eventually; the run survives leaks but does not survive a collapse.
Avoid taking a core just because it is rare. Eight slots is a hard ceiling and an old build could freeze the selection screen when you held more than eight, so a bad core is worse than an empty slot you fill later. The core guide→ ranks archetypes against that constraint.
Step 5: buy upgrades between waves
Gold buys upgrades, and upgrades are permanent for the run. The upgrade tree has a Units section that the launch hotfix changed from 16 to 11 nodes by removing faction nodes from the count, which tells you the tree is wider than it looks and that faction bonuses are handled elsewhere.
Priority for a first run:
- Economy nodes that increase gold income or reduce spin cost.
- Army nodes that raise your unit cap or improve stats.
- Defensive nodes only when a specific wave is killing you.
The Origin Seeker achievement asks for thirty upgrade purchases, so the game expects you to buy continuously rather than save for a single big node. That is a good default: small purchases compound, a hoard does nothing.
Step 6: survive wave 8 and the first judgment wave
Wave 8 is where beginners stall. The enemy count jumps, the wave block in the tracker reaches eleven, and a boss health bar can appear over the field. Three things fix it:
- Depth over breadth. One three-star carry with two screen units beats six one-star units.
- Items used, not saved. The item row under the machine holds pickups; a heal or a buff you never use is not an item, it is a slot.
- Positioning. Keep your carry behind a body. An exposed carry dies to the first ranged enemy and your run ends on the spot.
Judgment waves are the graded checkpoints. They punish a run that has been leaking units every wave, which is why the achievement for clearing them without losses sits at 46 percent while the plain boss-wave achievement sits at 94 percent.
Step 7: finish the boss, then raise the difficulty
The boss of Open Forest is the last health bar on the field. When it dies, the battlefield clears and you unlock the next stage on that difficulty. Do not jump straight to Hard. Normal clears unlock progression, and each battlefield has its own Hard achievement, so there is no rush.
When you are ready, the hard mode guide→ covers what changes and which achievements are actually worth chasing.
Common beginner mistakes
- Absorbing into a fresh unit every wave. Stars concentrated in one carrier clear waves; stars spread across five units clear nothing.
- Skipping cores because the text is long. Every empty core slot at wave 10 is a rule you never got to use.
- Saving gold for a perfect purchase. The tree rewards volume, and waves do not wait.
- Fighting the boss with Normal-grade filler. The Pride of the Commons achievement exists because rarity is not power, but neither is a screen of untouched level-one bodies.
Sources
Official source: Slotbound on Steam ↗
- Steam store page ↗ for the core loop, absorb mechanic and core systems.
- Steam news hub ↗ for hotfix 1 to 5 and the difficulty tuning they applied.
- Steam achievement stats ↗ for the unlock percentages used as progress benchmarks.
FAQ
How many waves are in a Slotbound stage?
The wave tracker in the screenshots shows blocks in the late teens and early twenties, and the Stop the Clock achievement is built around clearing an entire campaign in one sitting. Treat a battlefield as roughly twenty waves with a boss at the end, not a fixed ten.
Should I restart if my first spin is bad?
No. Early spins are cheap and the absorb system means a bad opening unit is still food. Restarting costs you the cores and upgrades you would have earned by wave 4.
Do I lose anything when a unit dies?
A dead unit is gone for the run, and its stars go with it. That is why feeding your front line into a carry is a mistake: you lose the body that was keeping the carry alive.
Can I change difficulty mid-run?
Difficulty is chosen when you start a battlefield. You can play each battlefield on a lower difficulty first and return later for the Hard clear, which is how the Master of each stage achievements are meant to be earned.